
Transfer stock between outlets
Use a stock transfer to move goods from one outlet to another in the same organization. A transfer goes through three steps: Draft, In Transit and Received. Stock leaves the source outlet when the transfer is shipped and arrives at the destination when it is received.
Go to Product & Inventory → Stock → Stock Transfers.
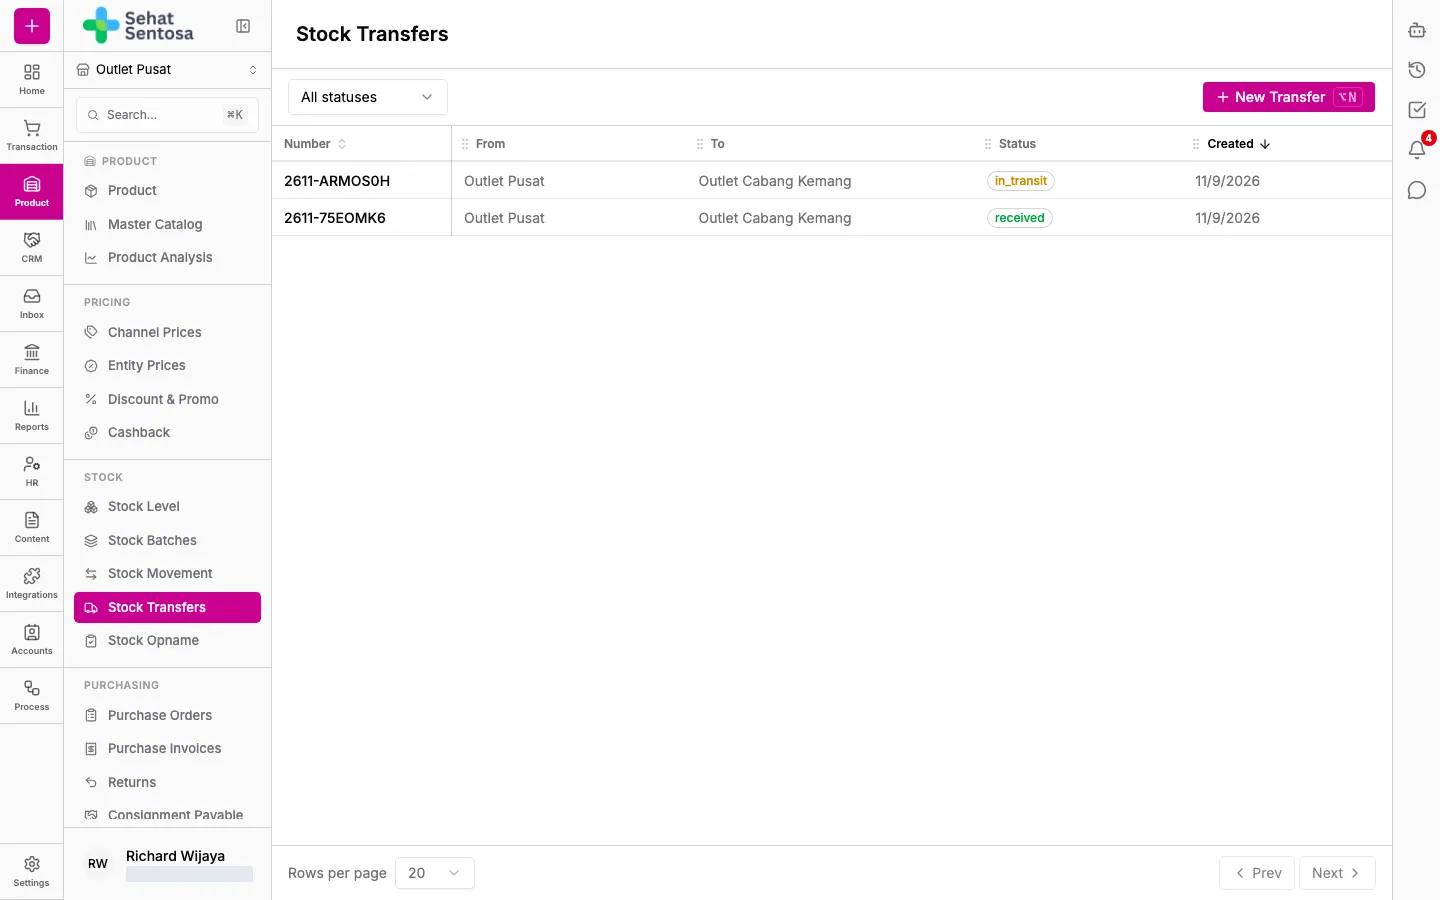
Creating a transfer
Section titled “Creating a transfer”A transfer is always created from the source outlet, which is the active outlet in the sidebar.
- Select the source outlet in the sidebar’s outlet picker.
- Click New Transfer.
- Pick the To Outlet and add Notes if needed.
- Save. The transfer opens in Draft.
- Click Add Item, pick the Product Variant, enter the Qty and save. Repeat for each product.
- Check the Items list. While it’s a draft you can remove an item with the bin icon.
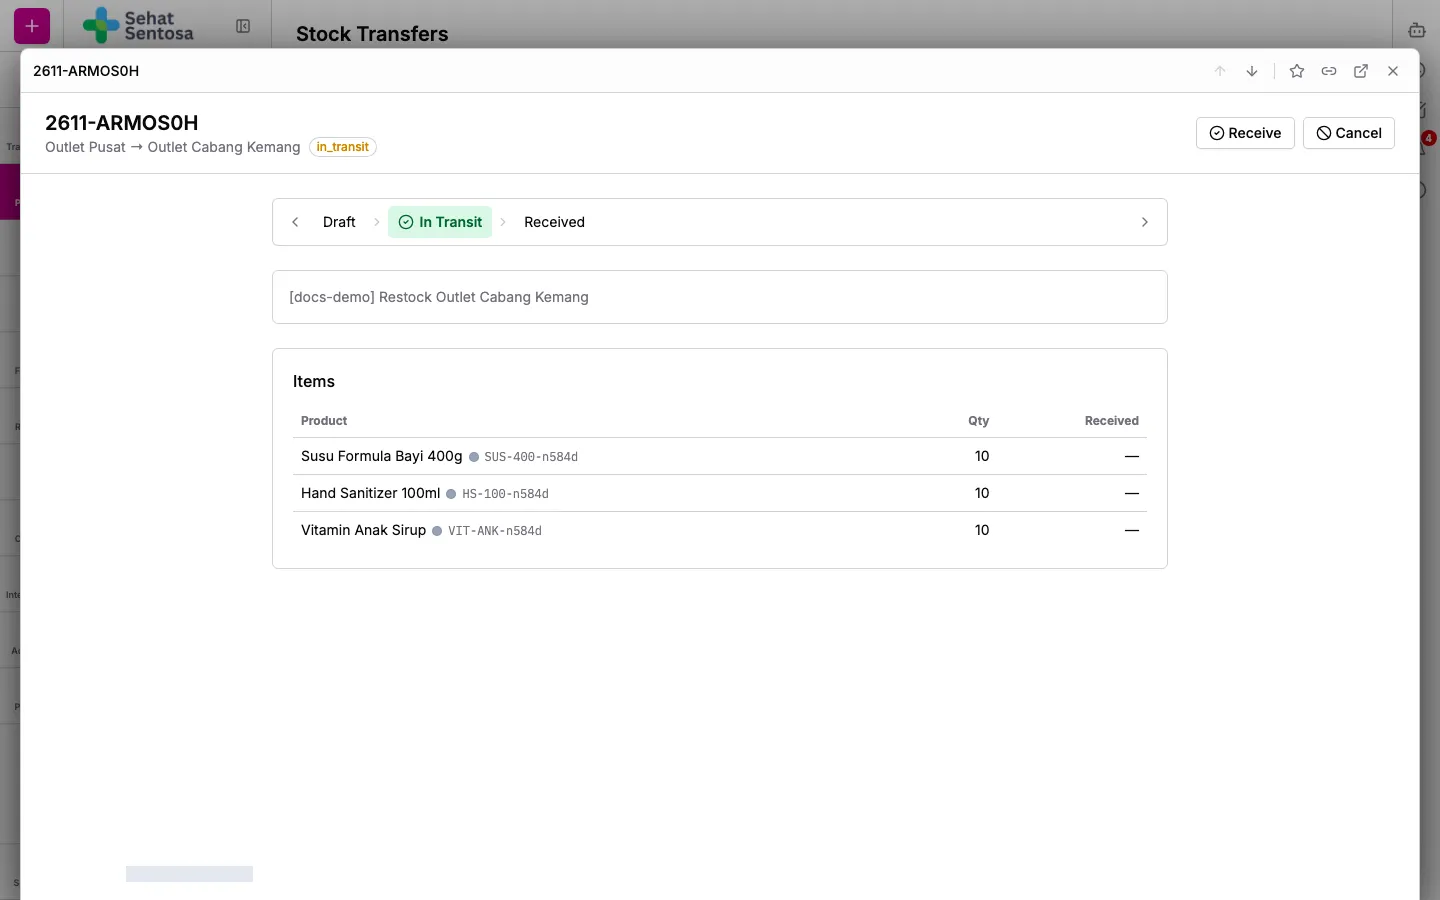
Shipping a transfer
Section titled “Shipping a transfer”- Open the Draft transfer from the source outlet.
- Click Ship. The status changes to In Transit and the stock is deducted from the source outlet.
Once shipped, the items can no longer be changed.
Receiving a transfer
Section titled “Receiving a transfer”- At the destination, select that outlet in the sidebar.
- Open the In Transit transfer.
- Click Receive and confirm. The stock is added to the destination outlet, and the Received column shows the quantity received.
Cancelling a transfer
Section titled “Cancelling a transfer”Click Cancel on a Draft or In Transit transfer and confirm with Cancel Transfer. If it was already shipped, the stock goes back to the source outlet.
Viewing transfers needs stock.transfer.read. Creating, shipping, receiving and cancelling need stock.*.