
Navigation, organizations and outlets
The dashboard has three parts: the icon rail on the far left (choose an area such as Home, Transaction, Product, Finance, Reports), the sidebar with that area’s menus, and the working page on the right.
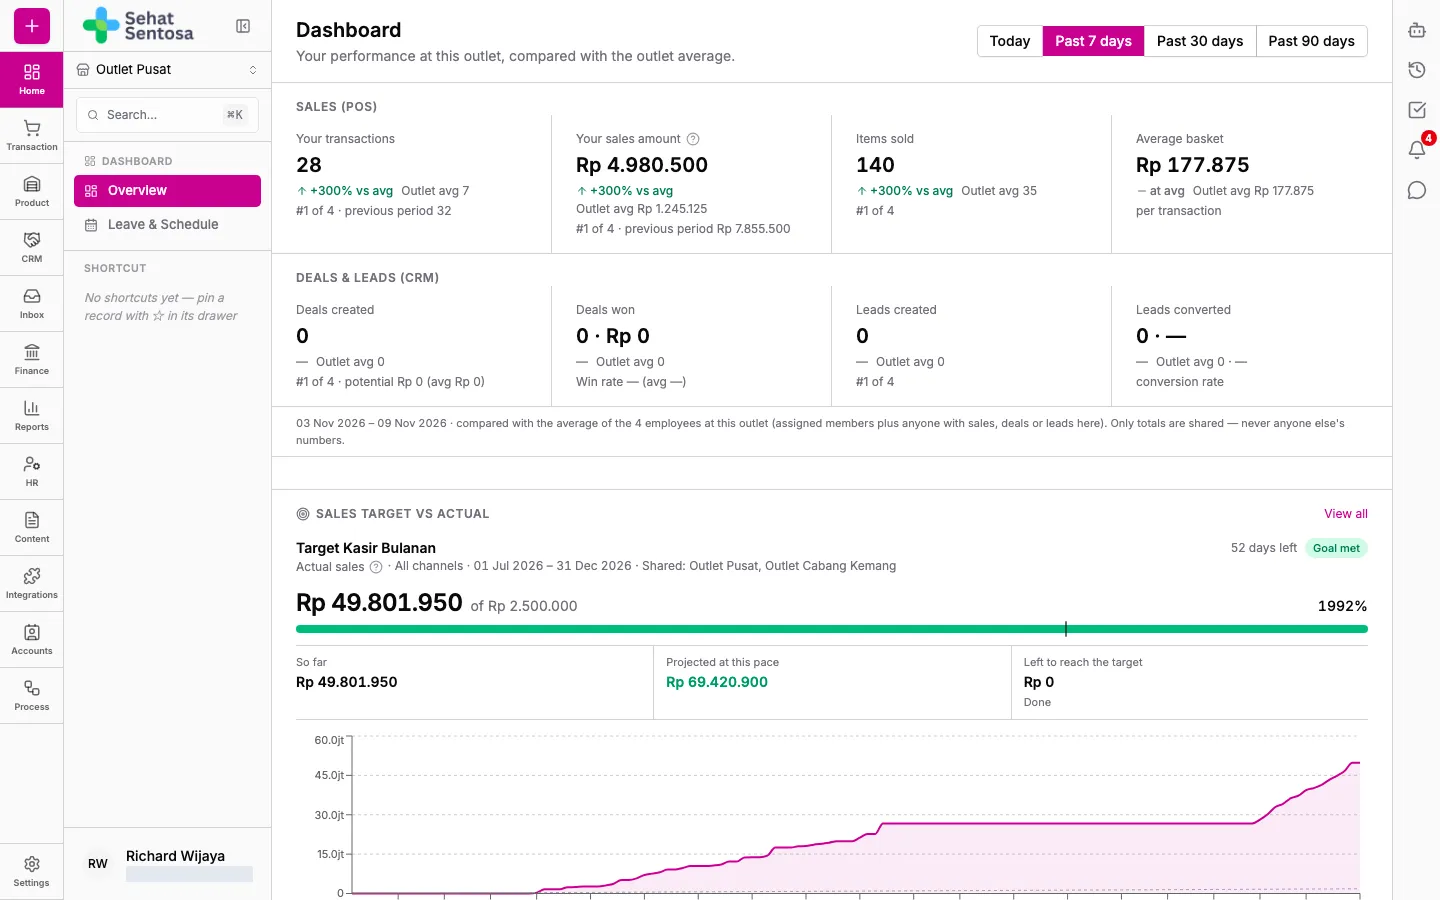
Choosing a menu
Section titled “Choosing a menu”- Click an area icon in the rail, for example Product (Product & Inventory).
- The sidebar shows that area’s menus in groups, for example Product, Pricing, Stock and Purchasing.
- Click the menu you need.
In these guides, menu locations are written as Product & Inventory → Stock → Stock Level: area → group → menu.
Switching organization or outlet
Section titled “Switching organization or outlet”Stock, POS, purchasing and prescription data always follow the active outlet, shown at the top of the sidebar.
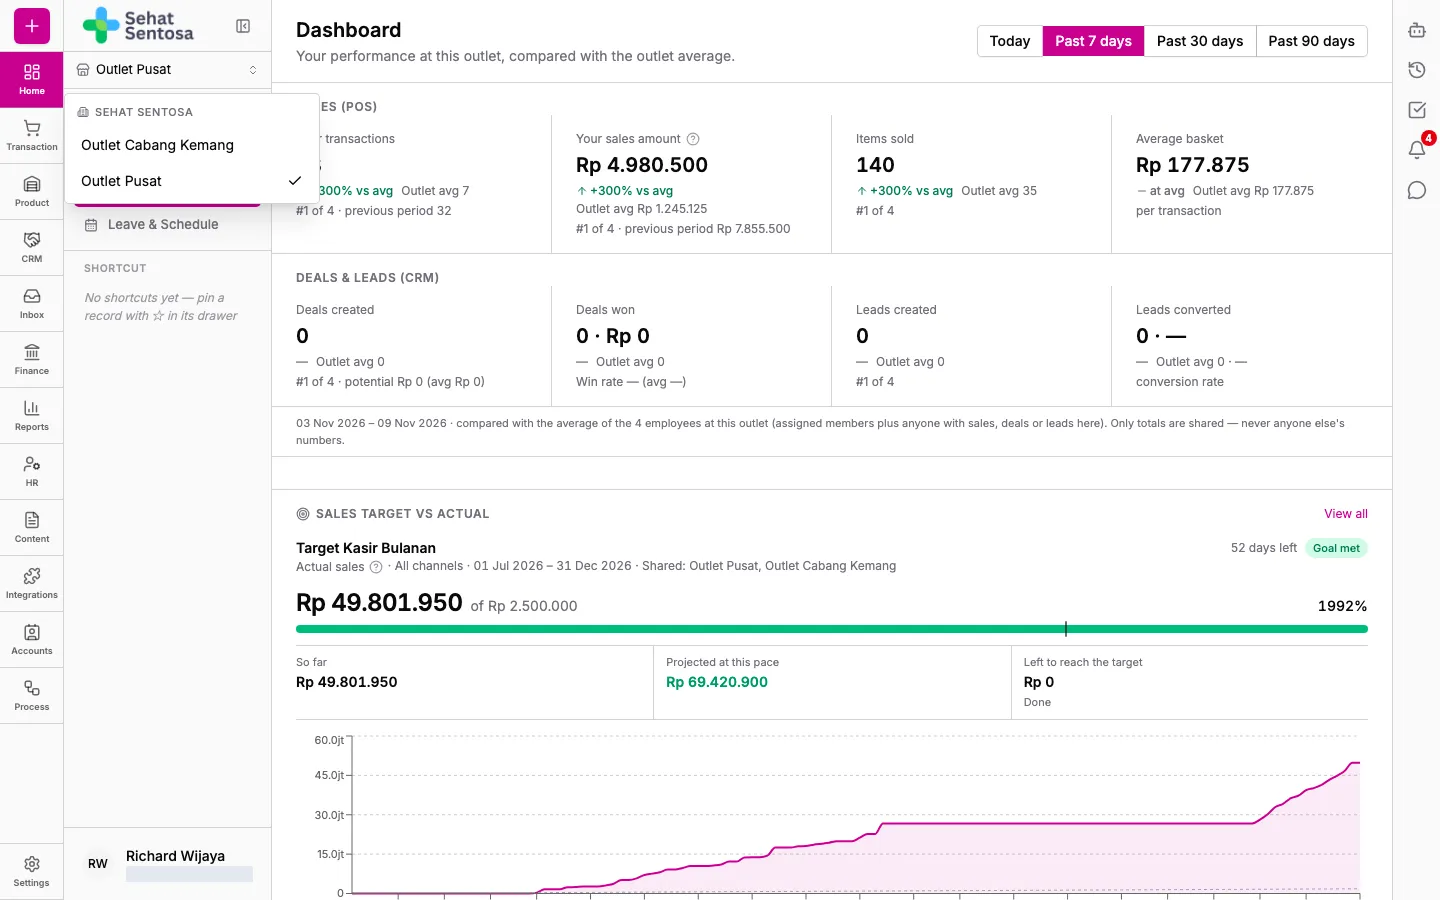
- Click the outlet name at the top of the sidebar (or Select outlet… if none is set).
- The list shows each of your organizations with its outlets underneath.
- Click the outlet you want. If it belongs to another organization, the dashboard switches to that organization.
Owners and admins see every outlet in the organization. Regular members see only the outlets assigned to them. If an organization shows No outlets assigned, ask an admin to assign you one.
Searching
Section titled “Searching”- Click Search… in the sidebar, or press Ctrl+K (Windows) / ⌘K (Mac).
- Type the name of a page, lead, account, contact or product.
- Pick a result to open it.
Changing language and theme
Section titled “Changing language and theme”- Click your name at the bottom of the sidebar and choose Profile.
- Open the Theme and Language tab.
- Under Language, pick Bahasa Indonesia or English.