
Outlets
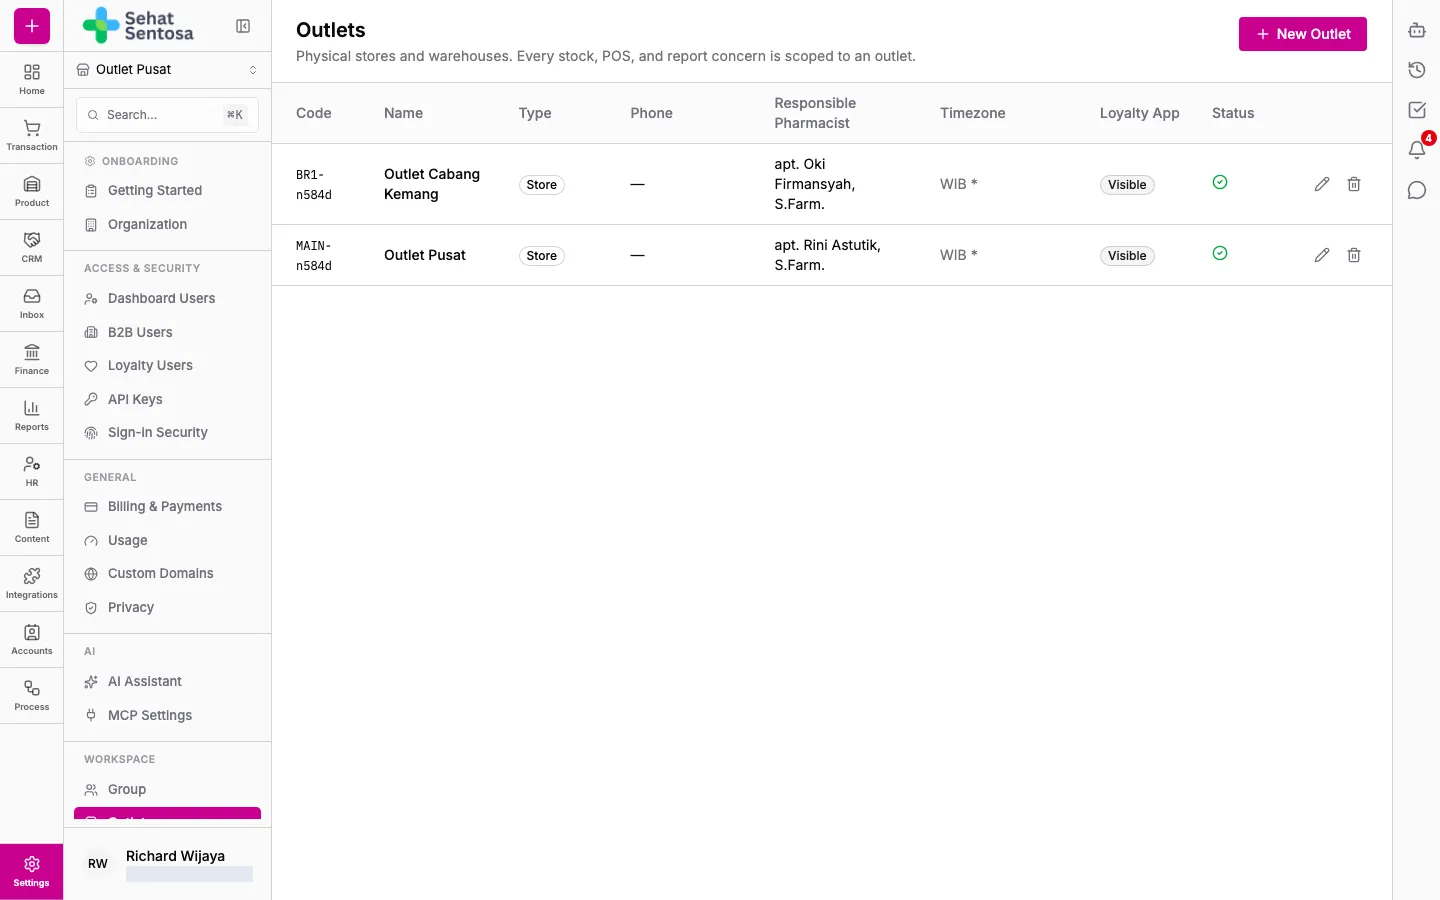
An outlet is a physical store or a warehouse. Stock, POS, cash registers and reports are always kept per outlet, so every organization needs at least one. Only owners and admins can open this page.
Before you start
Section titled “Before you start”Set up the responsible pharmacist as a contact with both the Employee and Pharmacist subtypes. Only contacts with both appear in the Responsible Pharmacist list.
Adding an outlet
Section titled “Adding an outlet”- Go to Account & Settings → Workspace → Outlet.
- Click New Outlet.
- Enter a Code (e.g. JKT-01) and a Name. Both are required.
- Choose a Type: Store or Warehouse.
- Fill in Phone, WhatsApp, Email and the address (Address Line 1, Address Line 2, Zip Code) as needed.
- Choose the Responsible Pharmacist.
- Leave Timezone on Follow organization unless the outlet is in another zone (e.g. WITA/WIT).
- Under Racikan, set the Default pharmacist fee (Tuslah) and Rounding step the POS uses when a cashier builds a racikan (compounded prescription).
- Tick Show in loyalty dashboard if customers should be able to see and pick this outlet in the loyalty app.
- Make sure Active is ticked, then click Save.
Your organization’s plan limits how many outlets you can have. Once you reach the limit, the outlet isn’t saved and a message shows with a See plans button to see your plan in Billing and plan.
Editing or deactivating an outlet
Section titled “Editing or deactivating an outlet”- In the outlet list, click the pencil icon (Edit) on the outlet’s row, change the details and click Save.
- To deactivate, click the bin icon (Delete) and confirm. The outlet’s historical data is kept.