
Customer loyalty accounts
A loyalty account holds a customer’s points and tier. Customers earn points when they buy at the POS, and once the account is activated they can see their points in the loyalty portal.
Open Accounts → Loyalty Accounts.
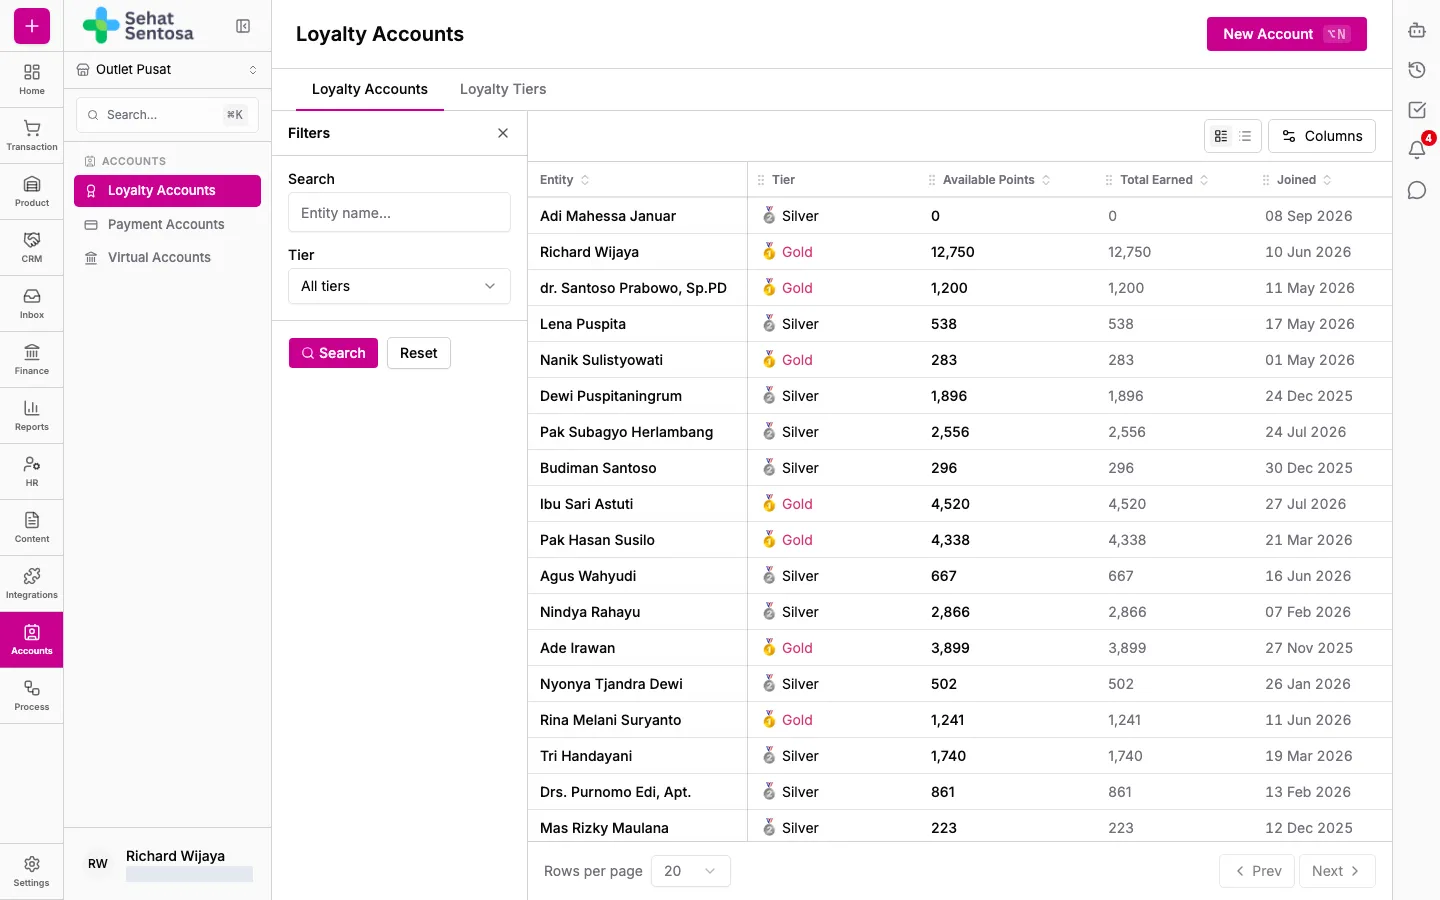
Create a loyalty account
Section titled “Create a loyalty account”- Click New Account.
- Choose where the customer comes from:
- Existing entity: pick an existing contact, account or lead in Entity.
- New customer: enter a Name to create a new customer contact.
- Enter an Email or WhatsApp Number. At least one is required.
- Optionally pick a Starting Tier. If you leave it empty, the organization’s default tier is used.
- If the customer doesn’t need to activate the account themselves, tick Skip activation — make the account active immediately.
- Save.
Without Skip activation, the customer receives an activation link by email and/or WhatsApp. The link is valid for 7 days.
Manage an account
Section titled “Manage an account”Click a row to open the account. The top shows Available points, Total earned, and the points expiring in the next 6 months.
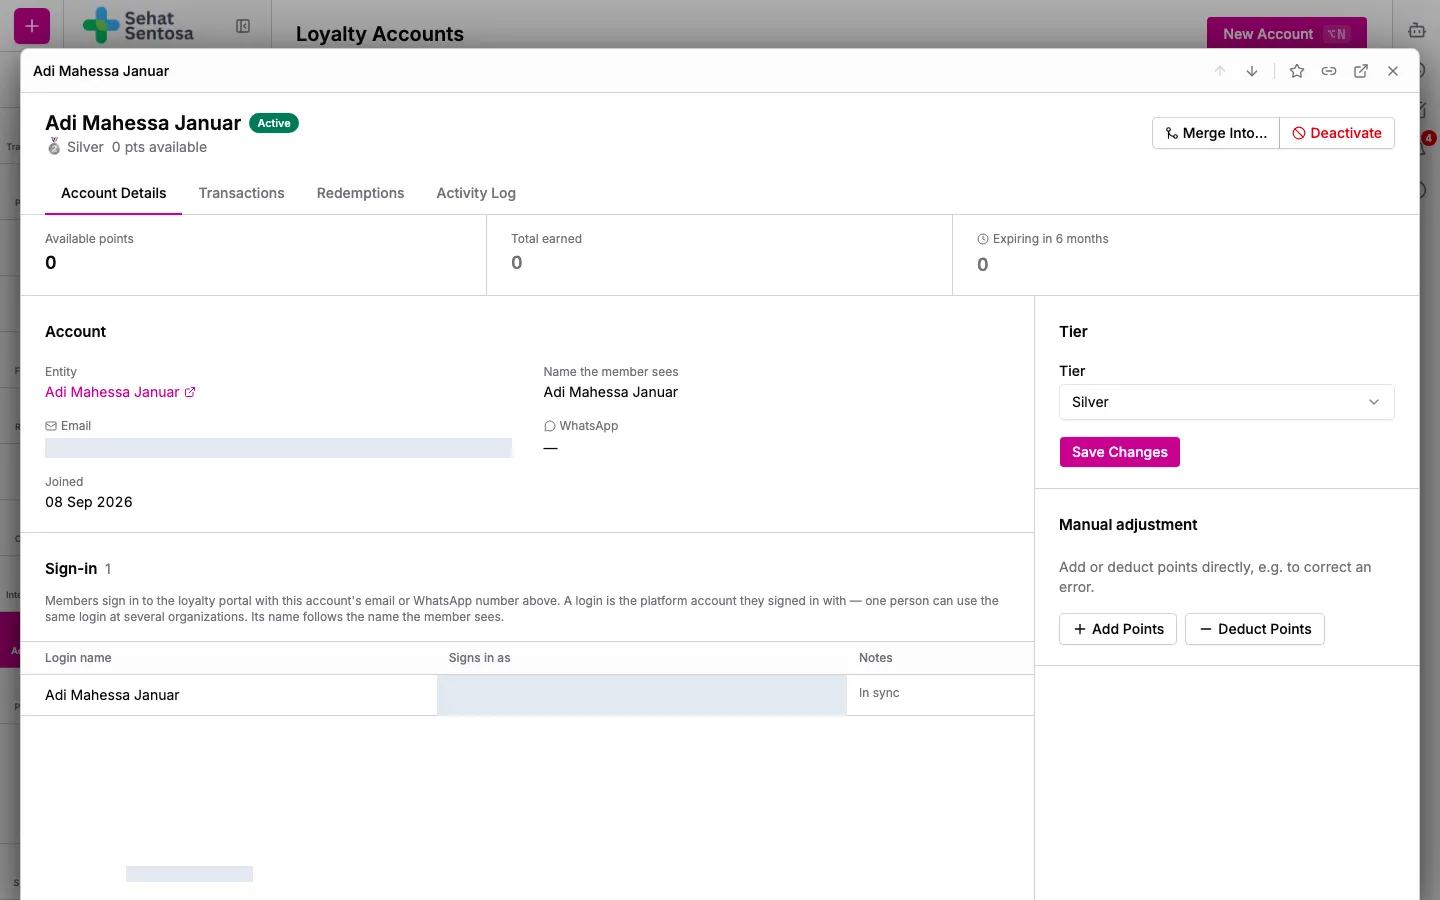
- Resend Activation: send the activation link again if the customer hasn’t activated yet.
- Activate Account: activate the account straight from the dashboard.
- Tier: change the customer’s tier, then click Save Changes.
- Manual adjustment: click Add Points or Deduct Points, enter Points and a Reason, then save. Use this to correct mistakes.
- Merge Into…: merge a duplicate account into another one.
- Deactivate / Reactivate: switch the account off or back on.
The Transactions and Redemptions tabs show the purchase and redemption history. Activity Log records every change.